


Hey there, fellow life explorer! Have you ever marveled at the incredible capacity of the human brain to adapt, learn, and change? Imagine having the ability to rewire your brain and unlock new possibilities for personal growth and self-improvement. It's not a...
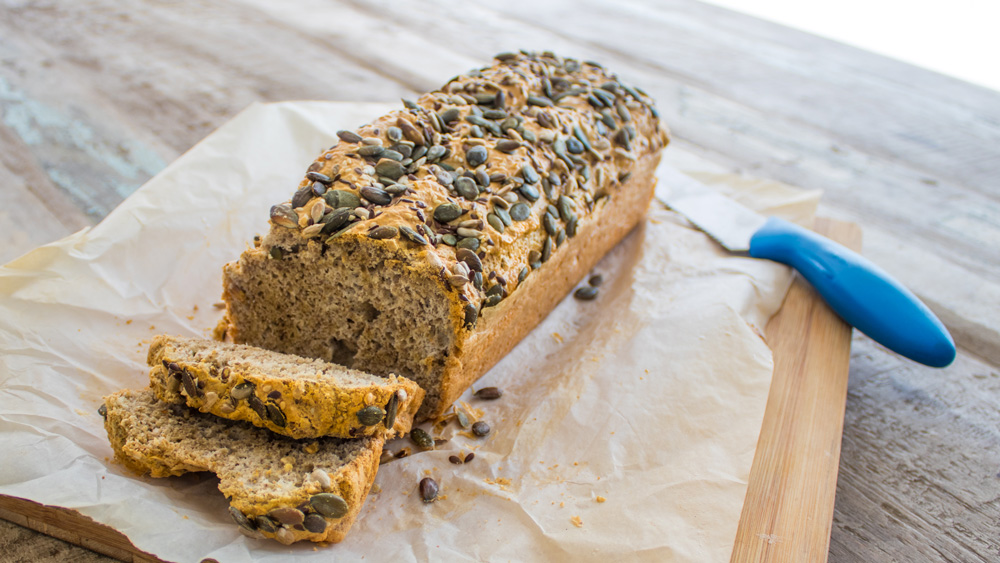
Try This Cauliflower Breadsticks Recipe. How To Enjoy Eating Healthy
JUMP TO RECIPE
Making cauliflower breadsticks sounds like a lengthy process (after all, how cauliflower turns into a thin crispy crust), but let me assure you, it barely qualifies as baking. The whole process takes about 30 minutes and is so so worth it!
Servings:
8 Pieces
Ready In:
55 Minutes
Calories:
20 Per Piece
Good For:
Snack or Lunch
Replacing Highly Processed and Highly Refined Foods
So, you probably eat a low-carb or gluten-free diet or, like me, you’re trying to cut out the most highly processed and refined foods. Most bread is a processed food with a high sugar content and not much nutrition (1). If we don’t have bread, what will we eat with our avocado o r hummus?
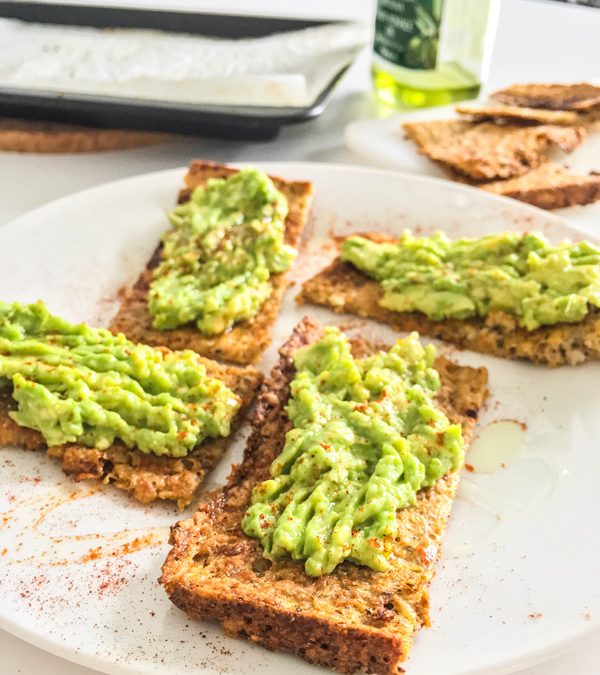
Put your favorite things on them.
With these cauliflower breadsticks, you can top them with whatever you want. The best part is the way they crunch in your mouth and make you feel like you’re treating yourself.


Why Are Cauliflower Breadsticks A Better Choice?
I looked at how these cauliflower breadsticks compare to regular breadsticks in terms of nutrition. This recipe has half the sugar, half the calories, and twice as much fiber. Because coconut oil is used, it still has the same amount of fat.
Cauliflower Breadsticks Have Good Carbs
The whole grains in the oats are what give this recipe its carbs. These carbs are very good for you because they are high in fiber. Fiber is important for keeping your gut flora healthy and fed.
It’s Not Just About Calories
Remember that it’s not all about how many calories and carbs you eat. This dish is full of vitamins and minerals that you wouldn’t normally get from a stick of bread. It’s low GI and makes you feel fuller for a longer time. Not only that, but they taste amazing and are very good for you in general.
Nutrition
- Calories: 150 Calories
- Protein: 6g
- Fat: 10g
- Carbs: 7g
- Fiber: 2g
- Sugar: 1g
Amounts per serving:
- Protein 6g 24%
- Carbohydrates 7g 30%
- of Which Sugar is 1g 1%
- Fiber 2g 7%
- Fat 10g 38%
Cauliflower BreadSticks Recipe
You’ll be able to dip these cauliflower breadsticks into any sauce guilt-free (provided it’s a healthy dip!) or load them up with a topping of your choice. The part you’ll love the most is how the crunch in your mouth and make you feel like you’re indulging.
Servings: 2 People
Calories: 150kcal
Cost: 5$
Equipment
- Food processor or blender
- Tray and baking paper
- Oven
Ingredients
- 11/2 Cups Finely chopped cauliflower florets make sure they’re as dry as possible first
- 1 Whole Egg
- 1 Pinch Salt & Pepper
- 1 Pinch Herbs and Spices I used paprika, oregano, thyme, mustard powder, garlic
- 1/2 cup Oat flour make flour by blending oats into a powder
- 1 Tbsp plus extra Coconut oil/olive oil. For inside the mixture as well as to grease the tray greasing the pan with oil helps make the bread crispy
Instructions
- Preheat oven to 400 degrees F.

- Blend half the amount of finely chopped cauliflower (raw and dry as possible) with egg together in a blender or food processor until it resembles a lumpy pancake batter.

- While blending add in the tbsp of olive or coconut oil.

- Mix the other half of crumbed cauliflower into the blended cauliflower egg mixture.

- Fold all the dry ingredients into the cauliflower mixture. stir to combine.

- The final mixture should be spreadable, not too mushy or crumbly. If it's crumbly add more oil or water. If it's too wet add more oat flour.

- Spread mixture out onto a lined and greased baking tray. The thinner you make it the quicker it'll cook and the crispier it'll be. But watch closely, before you know it you’ll have charcoal breadsticks. Aim for 1/2" thick.

- Cook for approximately 20 minutes. The top should be golden brown.

- Remove from oven and lift the entire flatbread up and turn it around, cook the other side for another 5 minutes (for extra crispy texture).

Notes
Store cooled cauliflower flatbread or breadsticks in an airtight container in the fridge for up to 3 days. Or freeze them. Once frozen you can defrost and reheat them in a skillet using some coconut oil to make them crispy again
What Else Can You Make With This Recipe?
This recipe is just the start of great things. When the flatbread comes out of the oven, Instead of cutting it up, use it as a pizza base. Another great option is using it as a wrap or burrito (because it has such high flex). Just put your ingredients in the middle and roll it up.
How Do You Store Cauliflower Breadsticks
You should make double or triple the amount and store some of it in the fridge or freezer after cooking and reheat it on a pan for a quick healthy snack!
Now all you need is a refreshing (and healthy) drink to pair these breadsticks with. Try my Thai Milk Tea Recipe. It’s undeniably refreshing and easy to make.